
When painting a car, masking tape is an important tool for protecting certain areas from being painted. Here are some general steps to follow when using masking tape for car painting:
- Clean the surface: Before applying the masking tape, make sure the surface to be protected is clean and free of any dirt, dust, or debris. This will ensure that the tape adheres properly and helps to avoid any paint seepage.
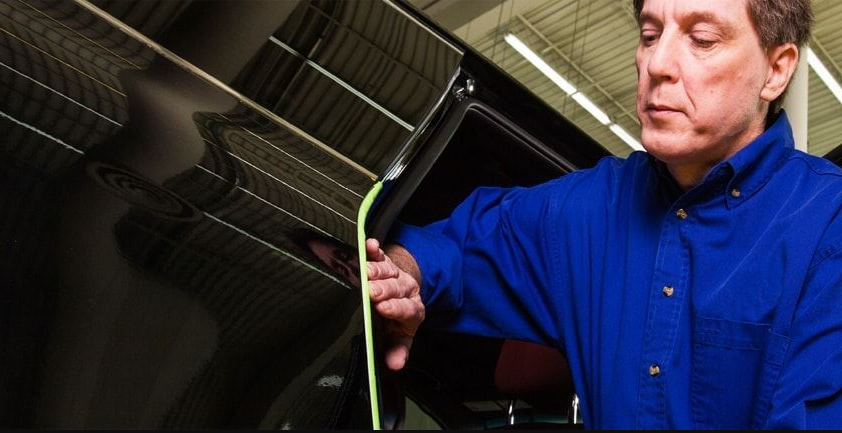
- Choose the right tape: Select a high-quality automotive masking tapethat is designed for use with car paint. The tape should be flexible and easy to work with, and it should also be easy to remove without leaving residue or damaging the car's paint.
- Apply the tape: Carefully apply the masking tape to the areas of the car that you want to protect from the paint. Be sure to apply the tape firmly, but not too tightly, to avoid stretching or tearing it. For best results, use a razor blade or a sharp knife to trim the tape edges to ensure a straight line where the paint meets the tape.
- Paint the car: Once the masking tape is in place and you are ready to paint, follow the instructions on the paint can. Apply the paint evenly and make sure to cover the entire area. Be sure to allow the paint to dry completely before removing the tape.
- Remove the tape: Once the paint is dry, carefully remove the masking tape. Start by pulling the tape at a 45-degree angle away from the painted surface. If the tape is difficult to remove, use a razor blade or a sharp knife to cut along the edge of the tape before removing it.
By following these steps, you can use masking tape effectively to protect certain areas of your car from paint while painting it.
For more info: https://www.tubetape.works/